How To Uninstall An Application In PowerShell
This article explains how to uninstall an application in PowerShell.
Question
How can we uninstall an application listed in Programs and Features using PowerShell?
Short Answer
We can use the Win32_Product WMI class.
$app = Get-WmiObject
    -Class Win32_Product
    -Filter "Name = 'Application Name'"
$app.Uninstall()
Long Answer
We can use the Win32_Product WMI class to query the system for installed applications.
For example, this command will retrieve a list of WMI objects, each representing an installed application:
Get-WmiObject -Class Win32_Product
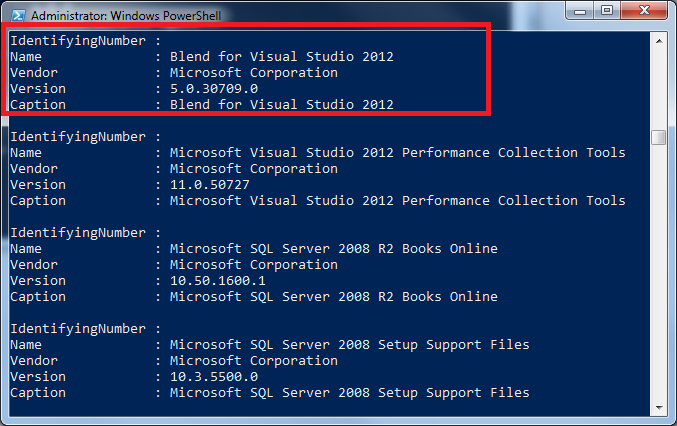
Each application is neatly represented in a list panel.

Now, we need to focus on the application we want to uninstall. Let’s say we want to uninstall that highlighted item on the list, Blend for Visual Studio 2012. To do this efficiently, we can use the Filter property on the Get-WmiObject class:
Get-WmiObject
    -Class Win32_Product
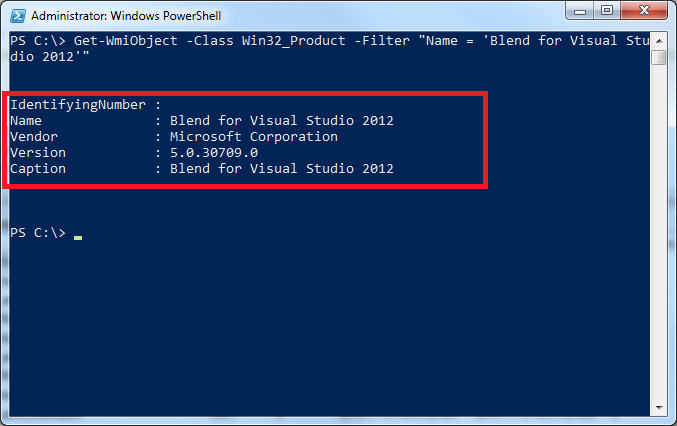
    -Filter "Name = 'Blend for Visual Studio 2012'"
This will retrieve only the application we are interested in:

Do you remember that, in PowerShell, everything is an object? Well, we can make use of that now. Let’s tuck the result of that command into a variable:
$app = Get-WmiObject
    -Class Win32_Product
    -Filter "Name = 'Blend for Visual Studio 2012'"
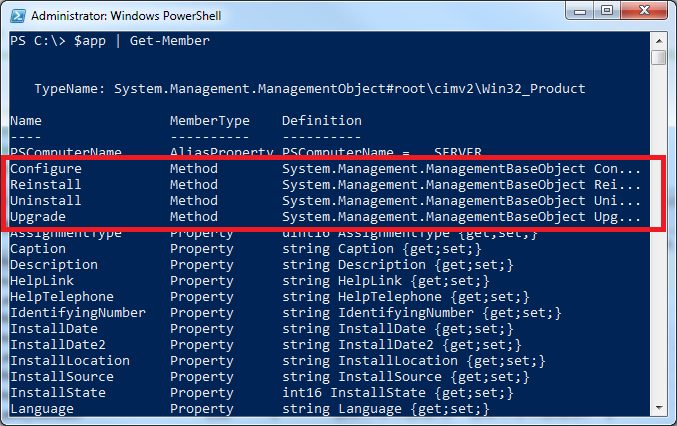
We can now inspect that variable to find what methods it supports:
$app | Get-Member

As you can see, we can do even more than just uninstall the application. We can also get information such as where and when it was installed. We can also repair the application if needed. In this case, we want to uninstall it, so we can go ahead and call the Uninstall method:
$app.Uninstall()
Easy, isn’t it?